Creating your first invoice can feel like a big step, but with Fullgap, it’s simple and hassle-free. In this guide, we’ll walk you through every step of creating your first invoice, so you can send it out with confidence.
Let's get started!
Step 1: Sign in or create your account
Start by visiting fullgap.co.
- If you already have an account, Click on the Sign In button and log in with your email and password.
- If you’re new to Fullgap, Click Get Started Free to create a free account. The registration process is quick, and you’ll be ready to go in no time.

Related: A guide to getting started with Fullgap
Step 2: Start a new project
Once you’ve logged in, you’ll land on your dashboard.
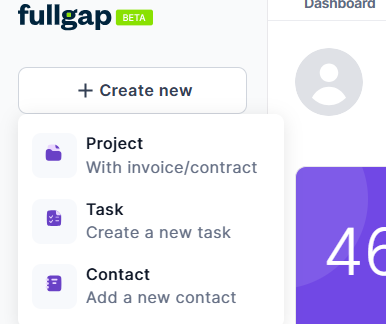
- Click Create New at the top-left corner to start a new project.
This will bring up three options for creating a project.

Step 3: Select the option to include an invoice
From the options provided, choose Project with invoice/contract.
This option lets you generate an invoice and a contract for your project..
Step 4: Fill in your project details
You’ll now be asked to provide some basic information about your project. Here’s what to include:
- Project title: Give your project a clear and descriptive name, like “Social Media Management for ABC Ltd.”
- Project description: Briefly describe the scope of the project or services you’ll deliver.
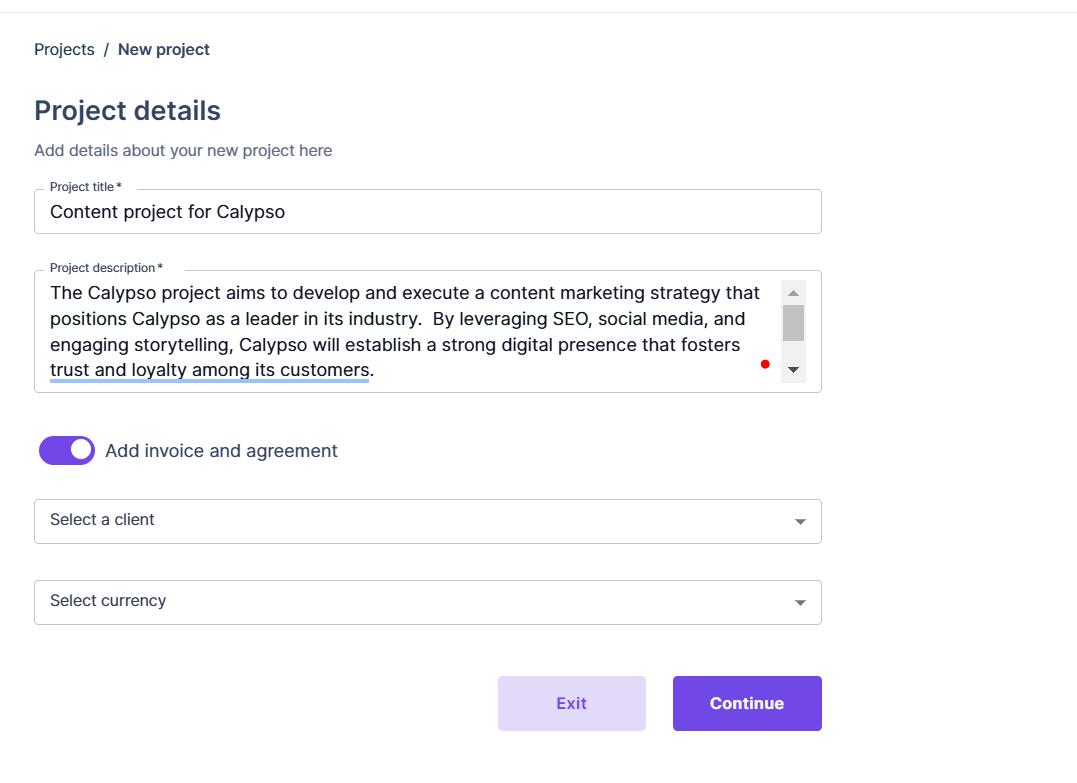
- Client:
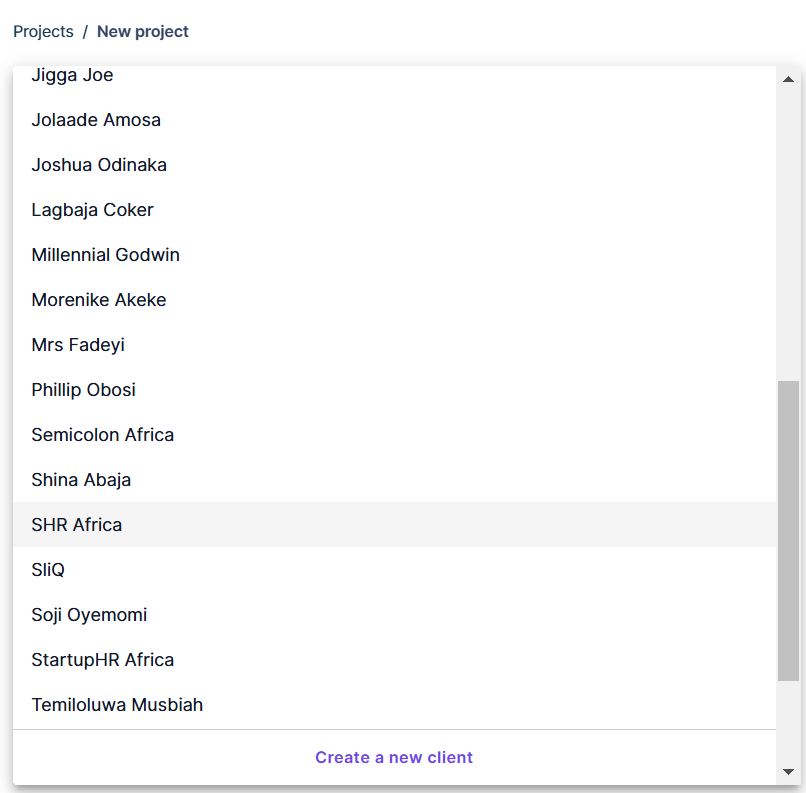
- Select an existing client from your saved contacts.
- If it’s a new client, click Create New Client and add their details.
- Currency: Choose the currency for your invoice.

Once you’ve filled in these details, double-check everything for accuracy, then click Next to proceed.
Step 5: Add deliverables
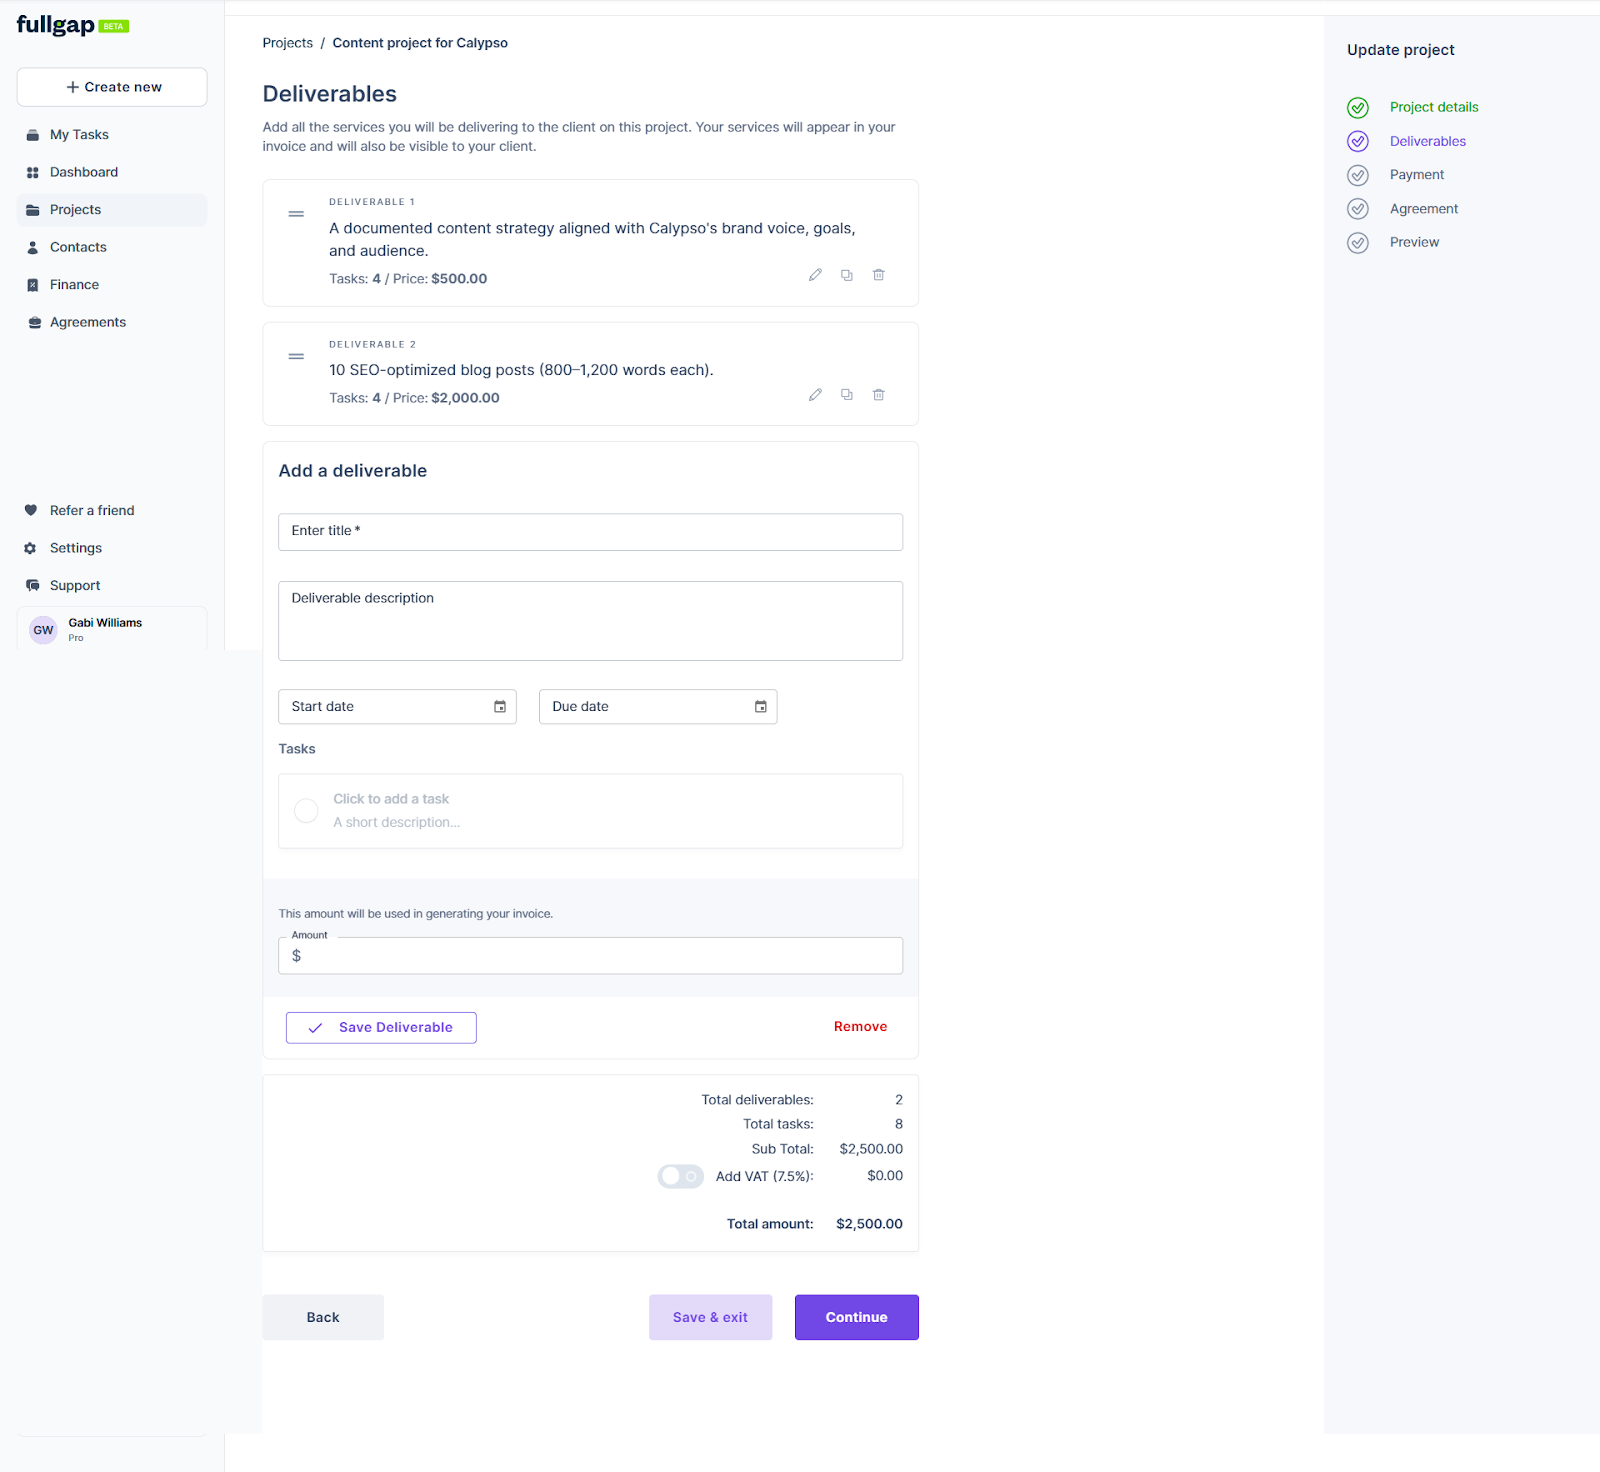
Deliverables are what you’re billing for, so this step is important. Here’s how to add them:
- Deliverable name: For example, “Logo Design” or “Monthly Marketing Plan.”
- Description: Provide a brief explanation of the deliverable.
- Start and end dates: Specify the timeline for each deliverable.
- Tasks: Break down the deliverable into specific tasks if needed. For instance, under “Logo Design,” you could list “Initial Concept,” “Revisions,” and “Final Design.”
- Monetary value: Enter the amount you’re charging for this deliverable.
When you’re done, click Save, then hit Continue to move to the next step.
Step 6: Set your payment schedule
How and when you get paid is up to you. Fullgap gives you flexible options:
- Deposit and final payment: Request an upfront deposit and collect the balance upon project completion.
- Payment upon completion: Get paid once all deliverables are complete.
- Custom schedule: Create a unique payment plan with specific dates.
Enter the necessary details, including deposit amounts or percentage(if applicable) and invoice dates. Click Continue when you’re done.

Related: How to negotiate like a pro
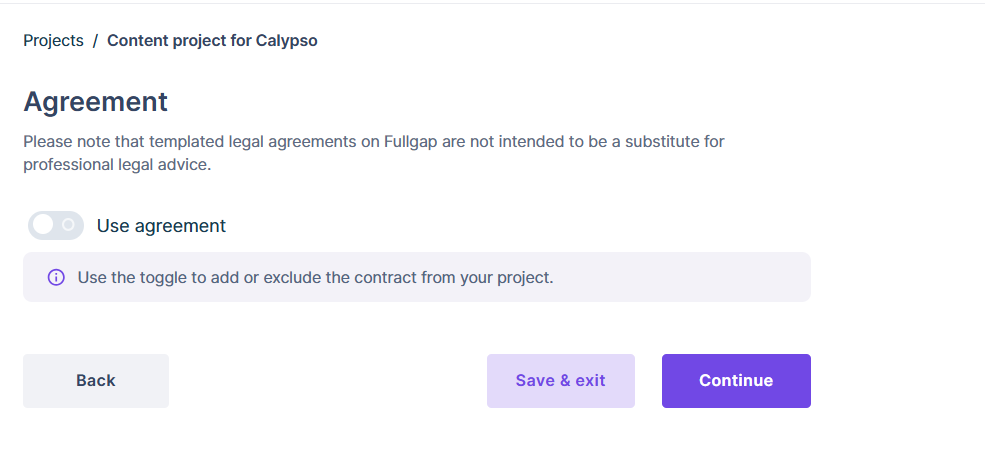
Step 7: Add an agreement (optional)
The next page allows you to attach a contract to your project.
- Use the toggle to include or exclude a contract.
- If you include one, ensure it outlines the terms and conditions clearly to protect you and your client.
Step 8: Review and send
Before hitting send, take a moment to review everything:
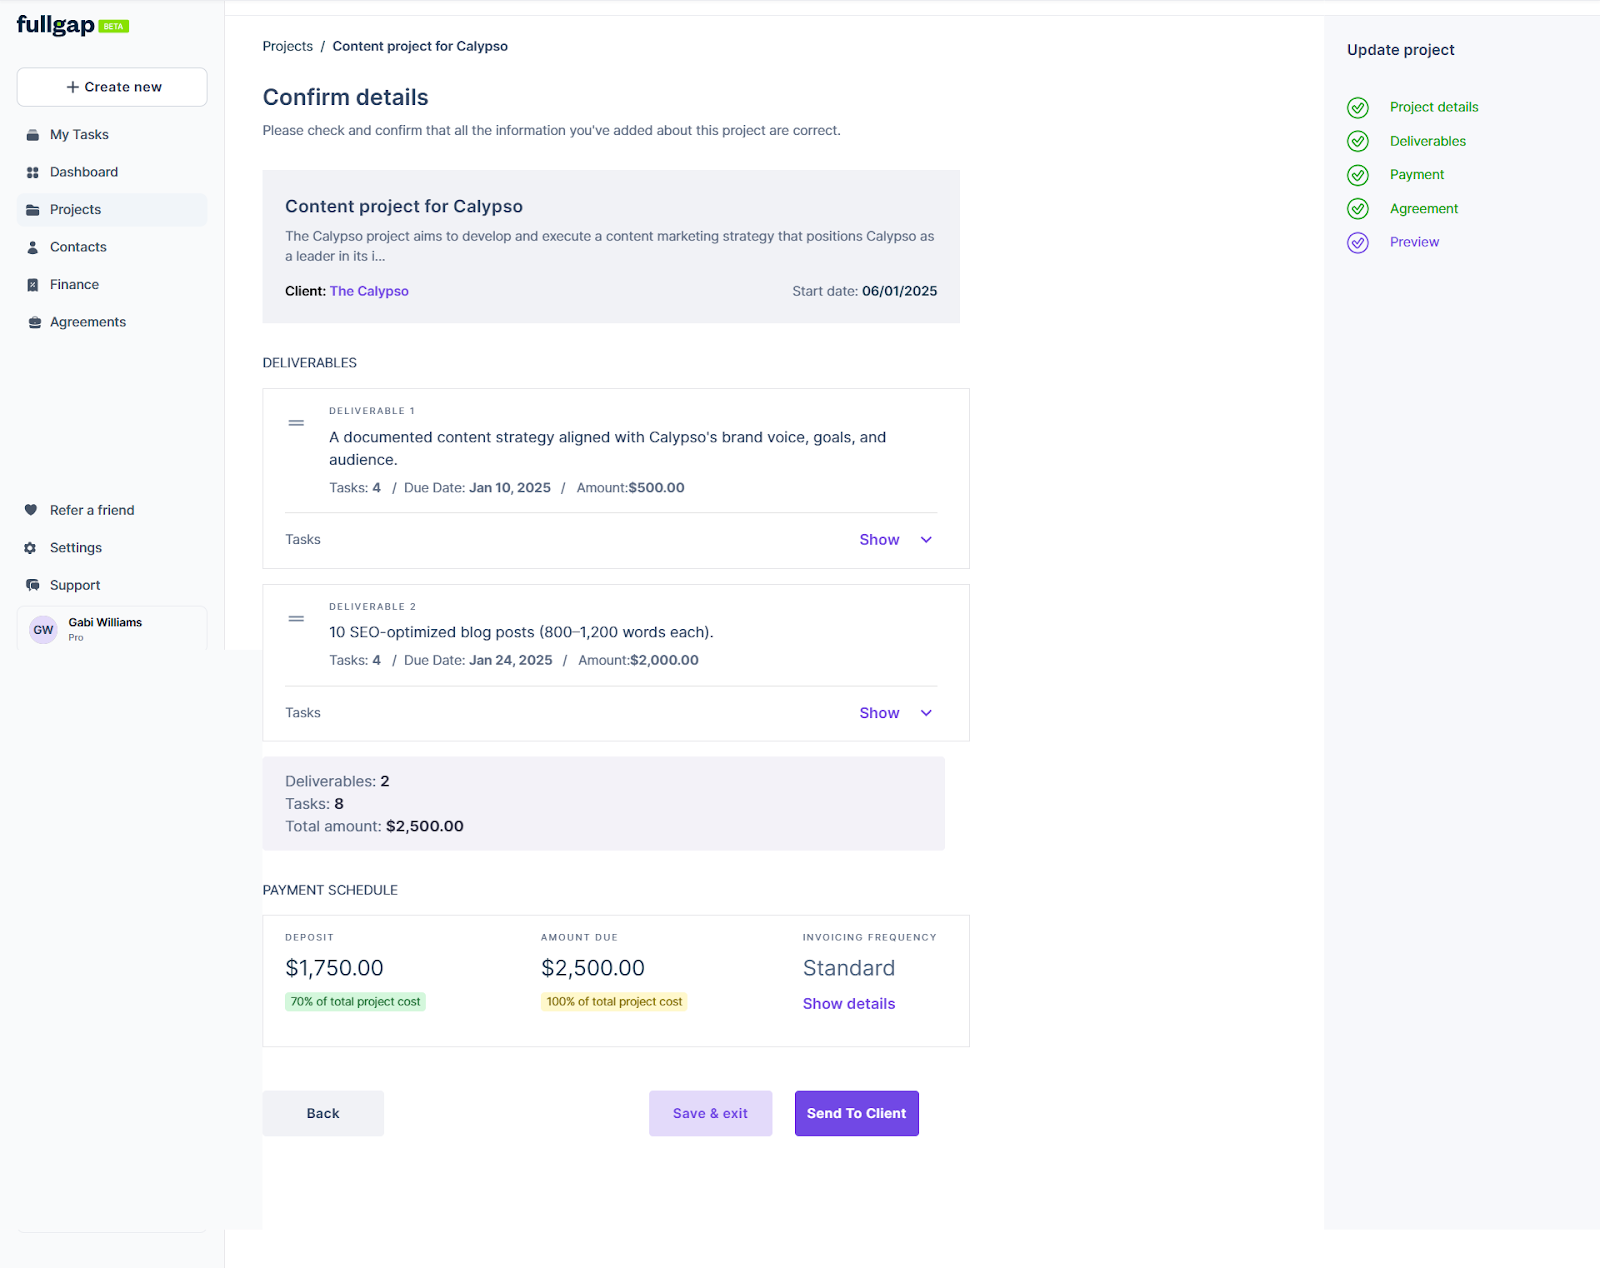
- Project details: Ensure the title, description, and client information are correct.
- Deliverables: Confirm all tasks and prices are accurate.
- Payment schedule: Verify the dates and amounts align with what you discussed with your client.
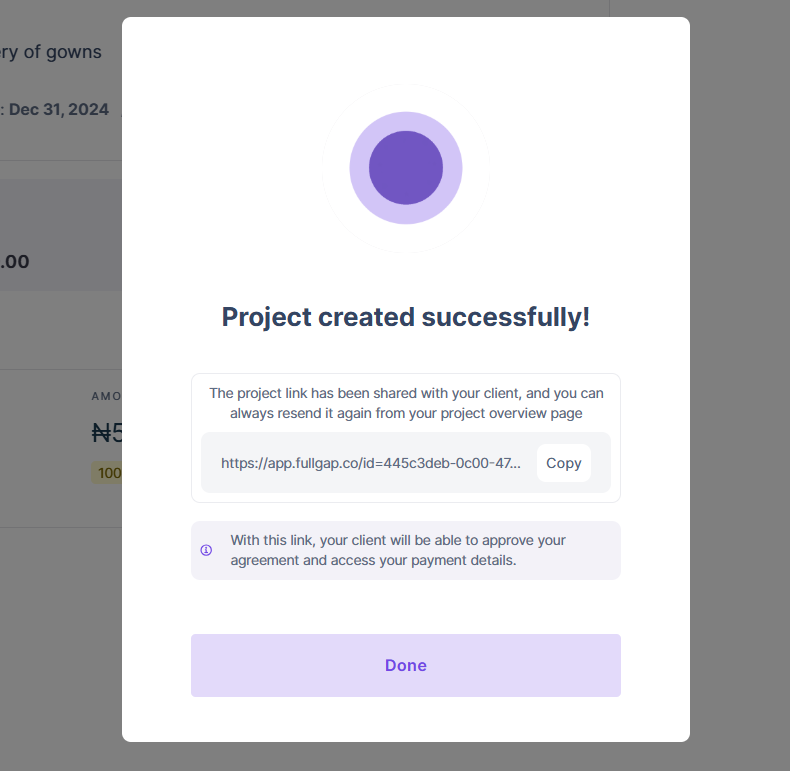
When everything looks good, click Send to Client. Your client will receive the invoice via email, and you’re done.

How to create a new client on Fullgap
Adding a client to Fullgap is simple and quick. Whether you’re working with an individual or a company, here’s how to do it:

Step 1: Choose the client type
You’ll start by selecting the type of client you’re adding:
- Individual
- Company
Once you’ve chosen the client type, you can move on to filling out their details.

Step 2: Add Client Information
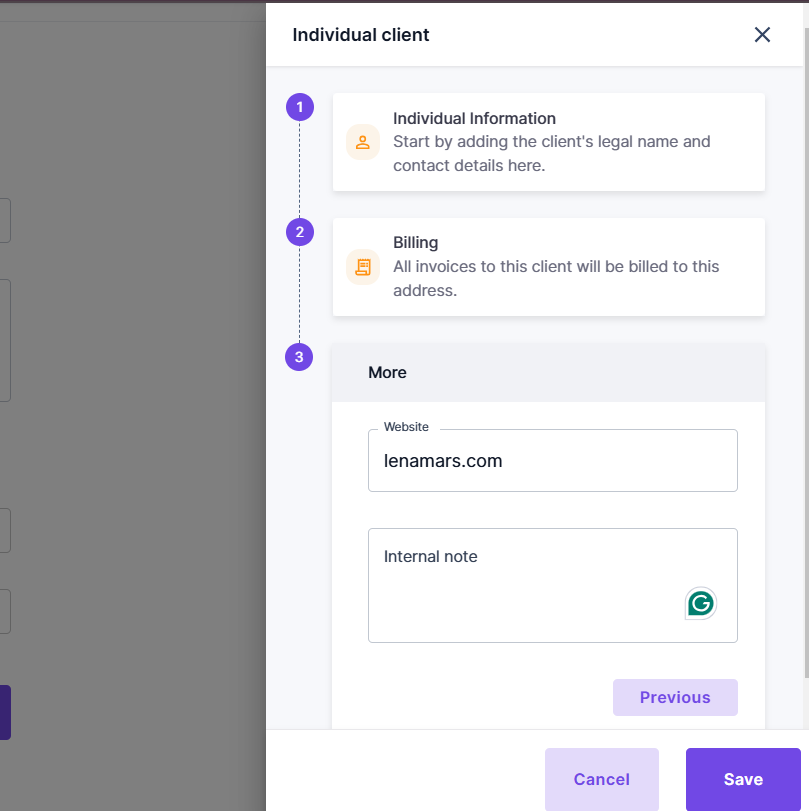
For Individual Clients:
You’ll need to provide the following details:
- First and last name
- Email address
- Phone number
- Billing address
- Website (optional)
- Internal note (optional)
Once everything is filled out, click Save, and that’s it. Your individual client is now added.
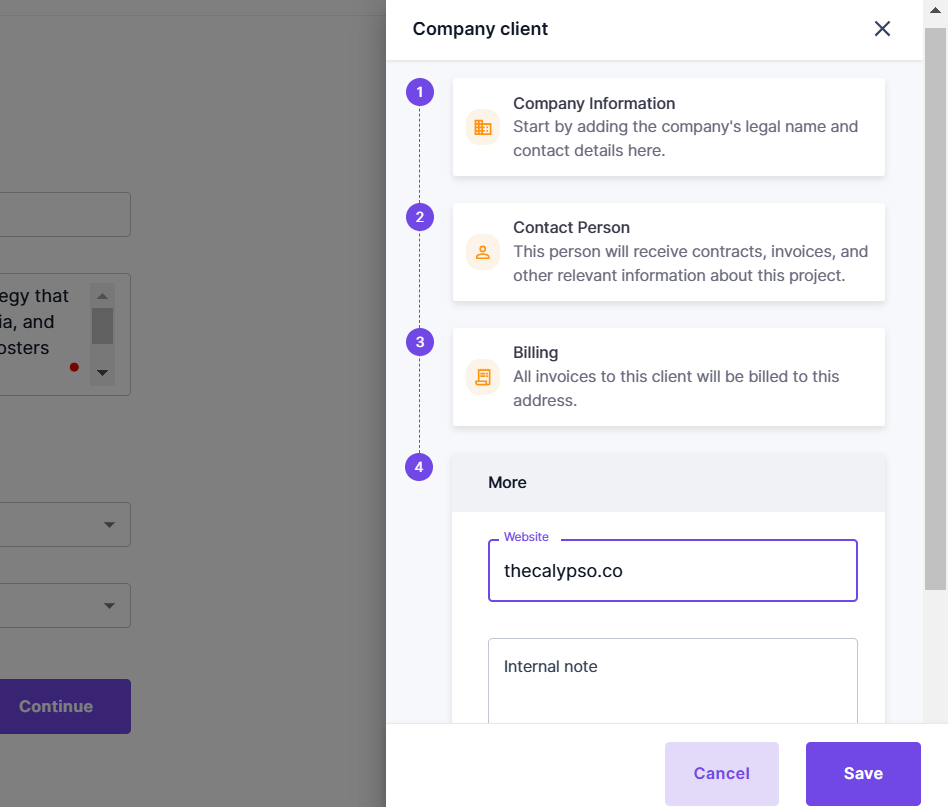
For Company Clients:
The process is slightly different for companies. Here’s what you’ll need to include:
- Legal name of the company
- Phone number
- Contact person’s details (name, email, etc.)
- Billing address
- Website (optional)
- Internal note (optional)
When you’ve added all the information, click Save.
Step 3: Confirm the client has been added
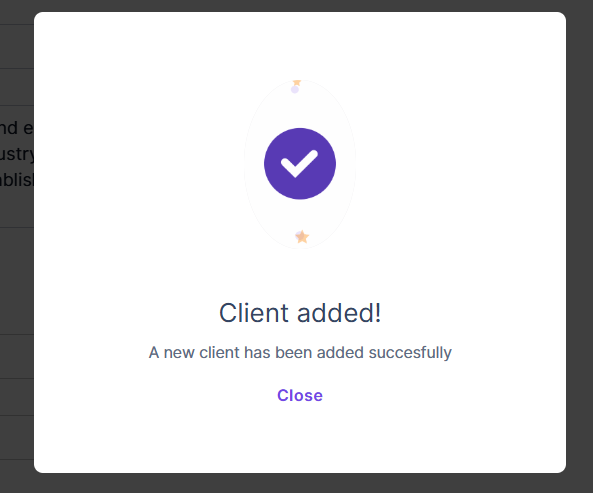
After clicking Save, your client will be successfully added to your client list. You can now find them easily whenever you need to create an invoice or manage projects.
How to add a new account on fullgap
As a Fullgap user, you can add up to three accounts across the 16 listed currencies. To create a new account, click on “Add an Account.”
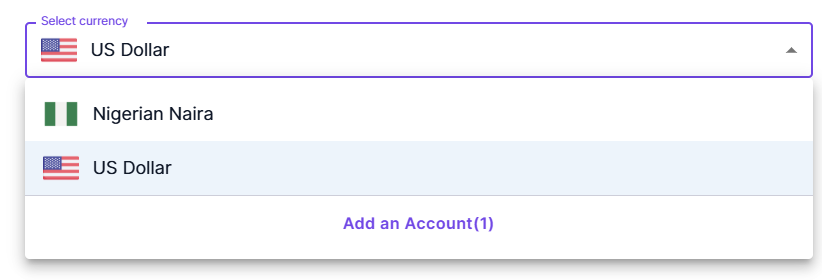
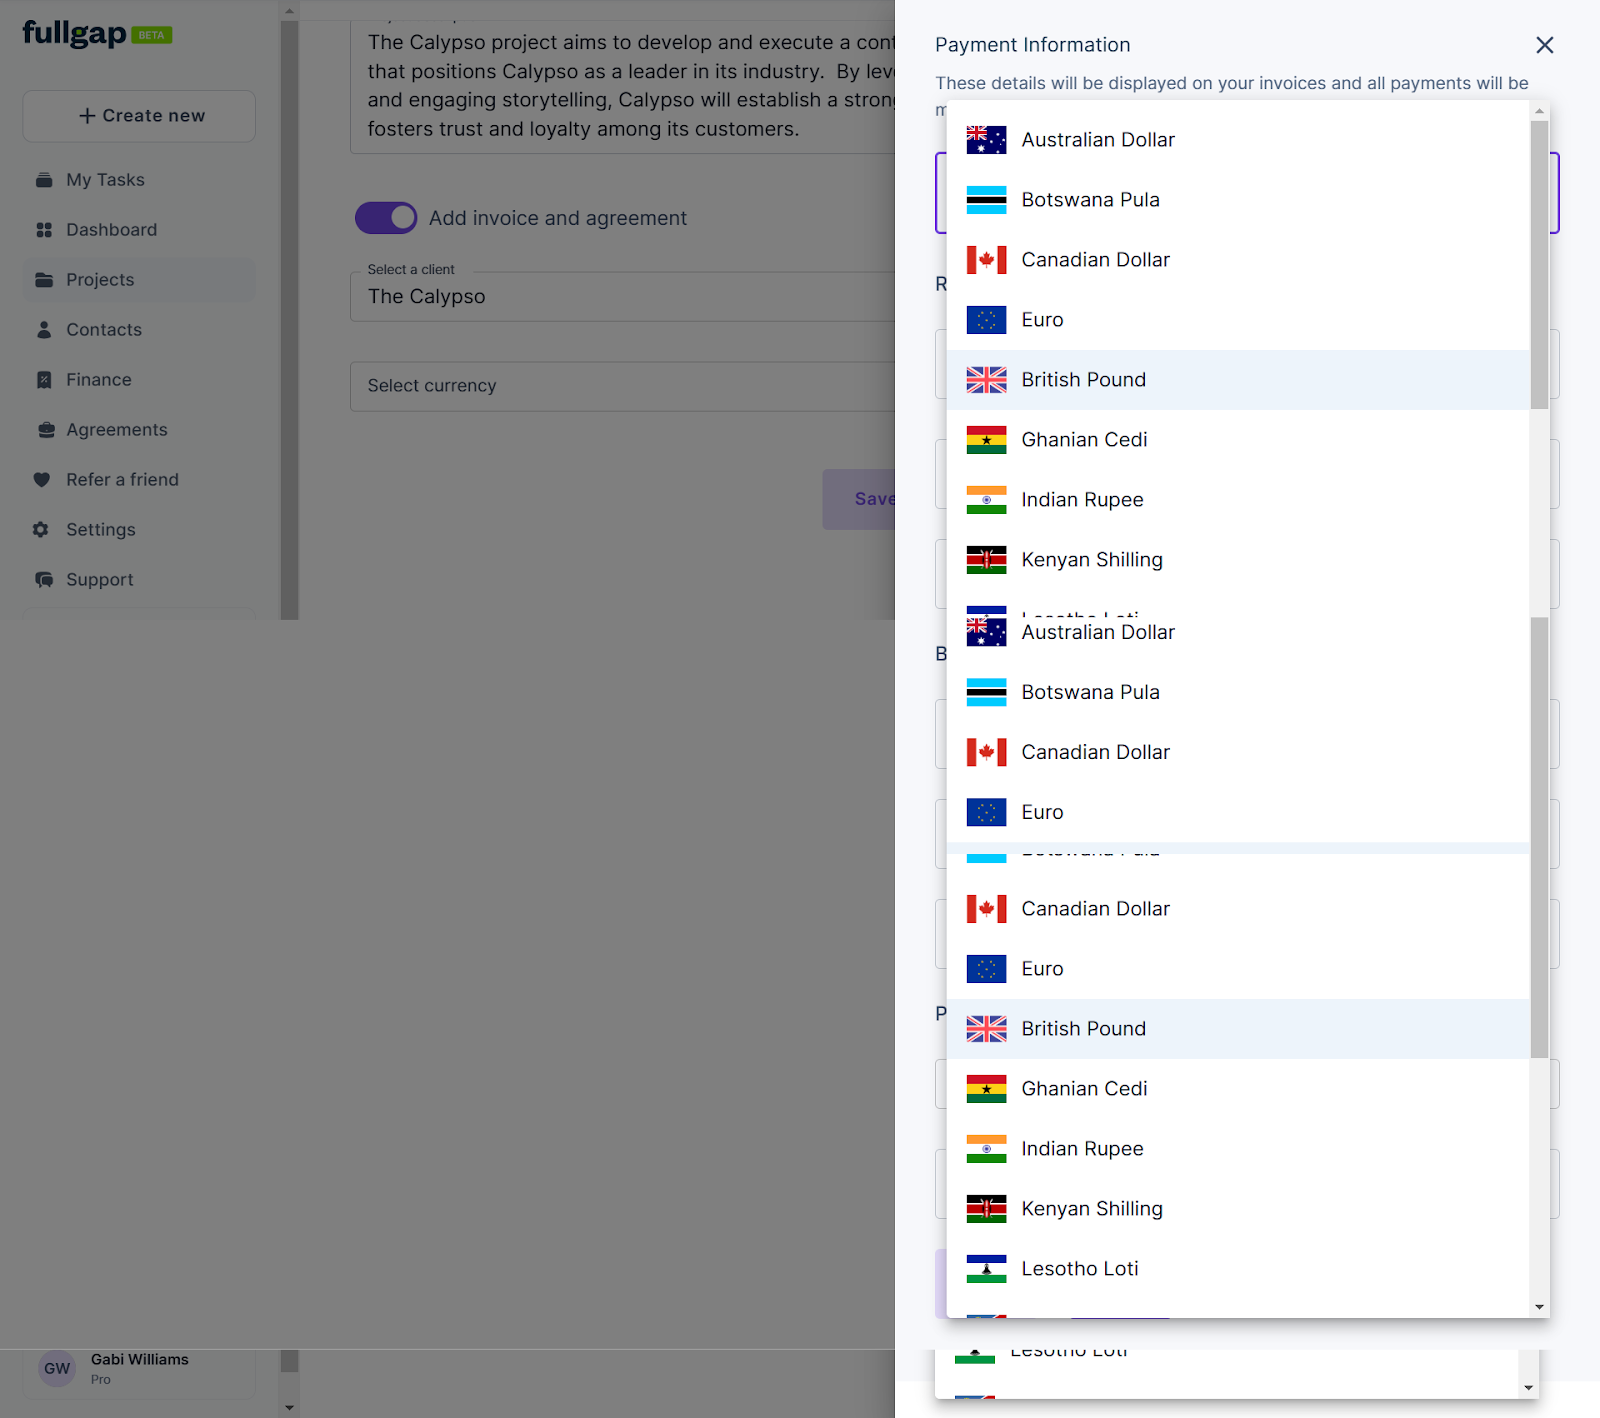
You’ll be asked to:
- Select the currency for the account.
- Provide the following details:some text
- Account number
- Beneficiary name
- Beneficiary address
- Bank details
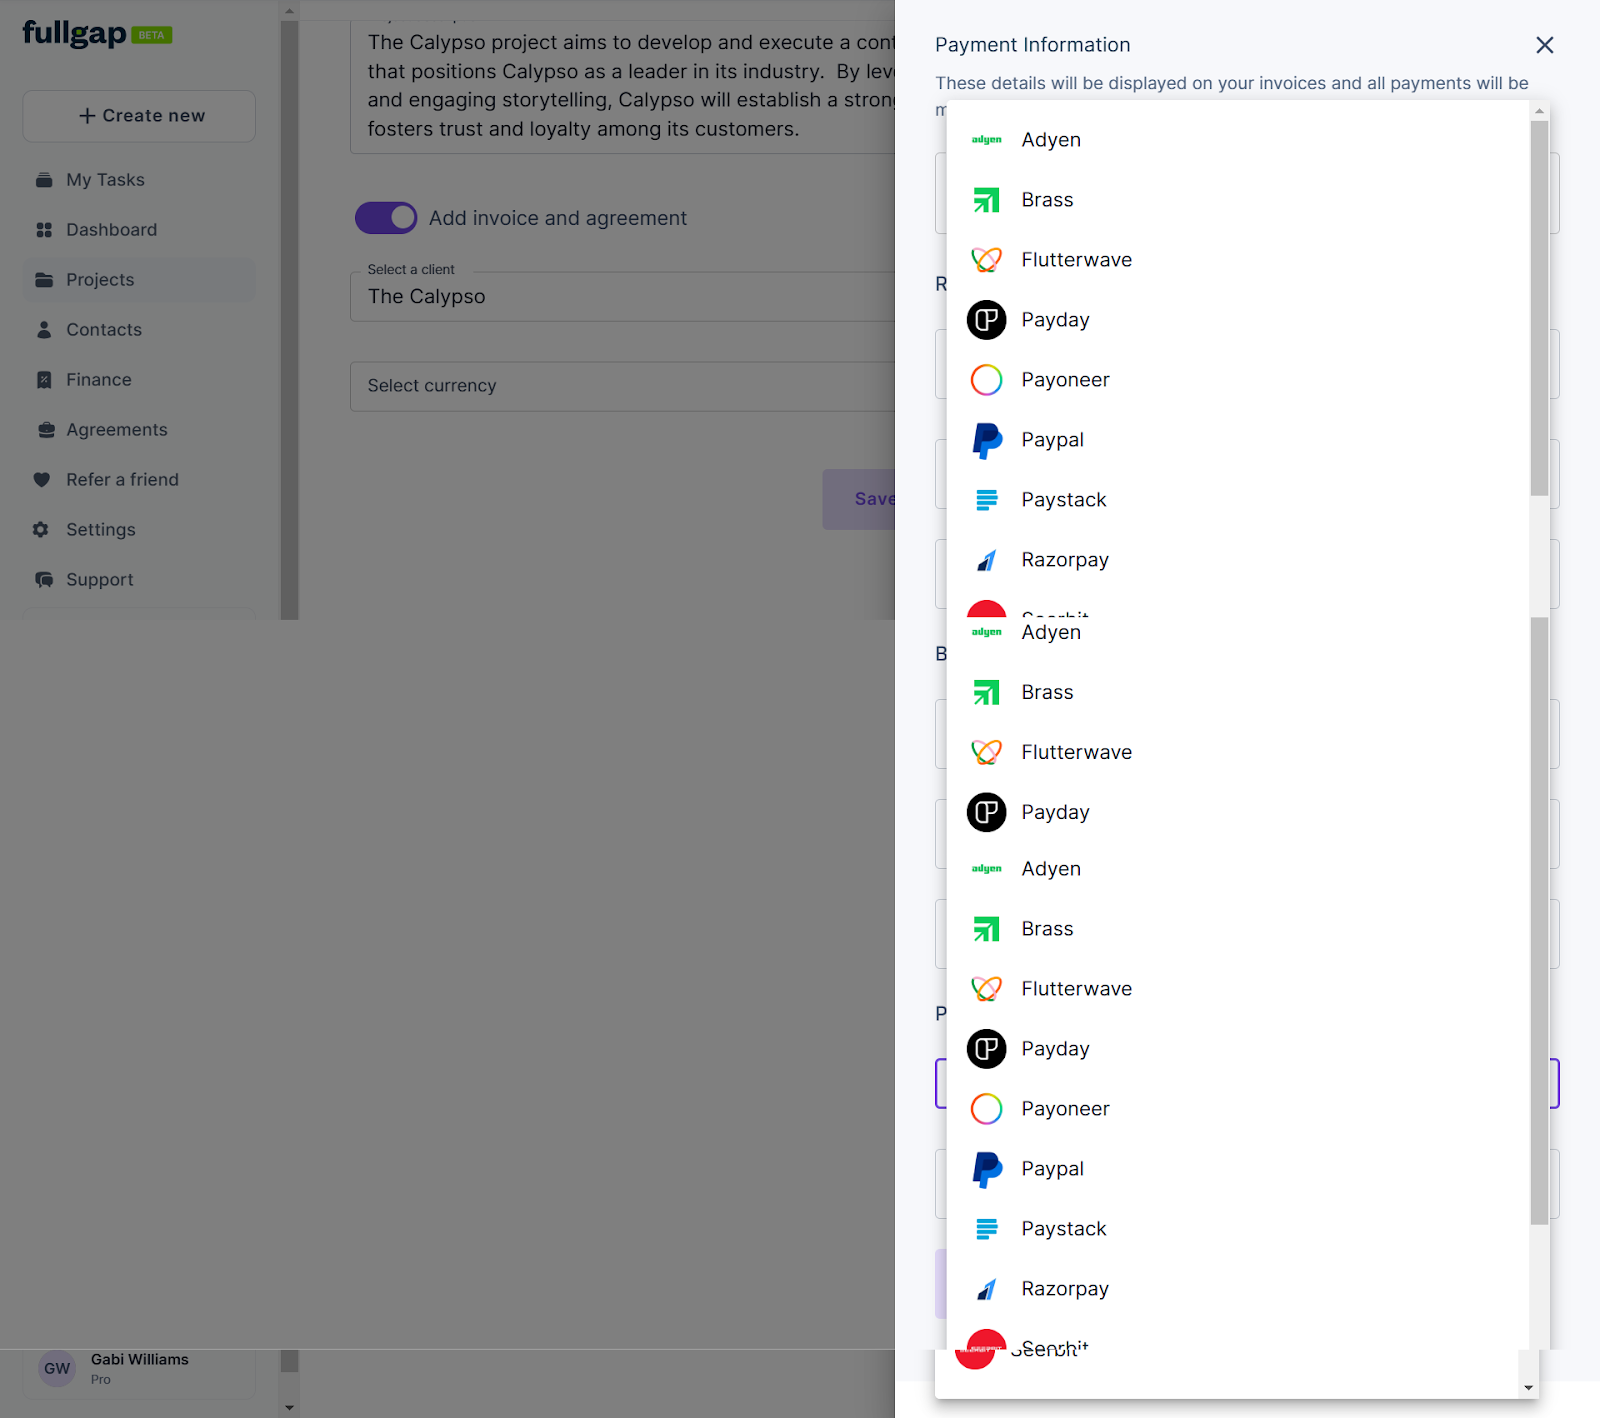
If you prefer to use a payment provider like Paystack instead of traditional bank details, Fullgap has you covered.
- Select your payment provider from the list.
- Add your payment link.
Once all the details are filled in, click Save. Your new account is now ready to use for invoices and payments.
Conclusion
And that’s it. Your first invoice is ready and on its way to your client. Now that you’ve mastered the process, you can manage your projects and payments like a pro. Log in to Fullgap today and make your invoicing smooth.


.png)
.jpeg)
